Earlier in 2015, I heard about Meteor a JavaScript App platform when someone was describing their application stack. When I saw it available as an introductionary course on Coursera, I decided to take the class and build on my JavaScript, HTML, and CSS experience.
I’m loathe to install development software directly onto my laptop when I’m first learning about it. One, I don’t know what I don’t know, and being able to quickly destroy the environment helps me to clean up if there is any security issues. Two, if there are conflicts with software that I depend on in my day to day this could be a nightmare of creating extra yaks to shave just to get back to a working state.
I solve this by using Test Kitchen with Chef and Vagrant (or AWS) to quickly spin up a system that I can use to complete the coursework and experiment without impacting my system (other than system resources like diskspace, memory, cpu when using Vagrant).
The following documents a little bit about how I do this. It’s very much an iterative and incremental process that leaves me with something that I can repeat the course as needed. If used in combination with git, I can quickly revert to a specific module within the class even.
Pre-Requisites
Install the Chef Development Kit, which includes Test Kitchen.
Setup the Base Cookbook
First I setup a base cookbook that is essentially my class project cookbook. For the Meteor class, I called it meteor-app which is probably not the best name to use, but it works. If I were commiting my code back to GitHub to share, I’d probably be a bunch more specific in the naming.
1 2 | |
I edit the newly created .kitchen.yml and edit the platforms section, choosing a single platform. As this is for a class and testing for a specific application, I’m not trying to test across all platforms. I chose to stick with Centos as that will work fine in this instance for this class and deleted the Ubuntu platform specification.
1
| |
The output of kitchen list at this point will show one instance that is Centos specific.
Creation of Base Image
Setting up the base image is quick with a kitchen create. If the base OS image (for this instance https://opscode-vm-bento.s3.amazonaws.com/vagrant/virtualbox/opscode_centos-7.1_chef-provisionerless.box) isn’t available on the system, this will be downloaded from the internet. In this case, I’ve done this many times so it’s already available to me and the setup is very quick. I could also modify this and specify exactly what image I want to use.
1
| |
Running kitchen create will set up an instance of Centos 7 for me based off of this image on my local laptop. If I wanted to use AWS, I would modify the driver name from vagrant.
Installation of Chef
1
| |
Converging my node with kitchen converge will install chef, and run the default recipe found in meteor-app/recipes/default.rb (which is currently empty).
Logging In
Next I’ll log into the system and follow through the process required for the class.
1
| |
If I had more than one instance, I would need to specify a specific instance kitchen login INSTANCE. My instance is called default-centos-71 so kitchen login default-centos-71 would work.
By default I’m logging in as the user vagrant when I do kitchen login.
Within the course, the first thing they ask is to setup a working directory. It doesn’t matter as much since I’ve created a separate development instance. I make the directory mkdir dev, and also update the default.rb recipe with a resource directory.
1
| |
Now if I were to copy my meteor-app cookbook to a new system and run kitchen converge the system that booted up will have the dev directory created for me.
For each change that the class asks me to do, I can try it out, then set up my recipe to reflect what needs to be done. I can then commit the changes as I go through each module with documentation to a local git repository or even GitHub which would allow me to go back to that specific state in time of the environment as I want to. If I want to test out something that is different from what the instructor has asked, I can without worry of completely breaking my environment. This is especially important when I’m working with something new that I don’t have enough context about to understand how my changes impact the system.
The next step is to install the Meteor JavaScript App. This uses the curl bash syntax curl https://install.meteor.com/ | sh.
To translate into Chef for my recipe, I could try out the Community Cookbook meteor, meteor, or I can just setup the minimum needed using the shell script that is available at https://install.meteor.com. We could even store the specific version within the cookbook. If we browse the script we can examine exactly what it’s doing and plan accordingly.
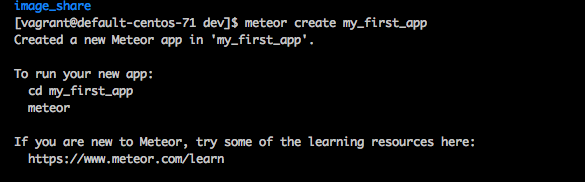
Next within the course, I created an app from the commandline on the virtual machine with meteor create my_first_app.
This sets up 3 files:
1 2 3 | |
Next, within the my_first_app directory I start up my system with meteor.
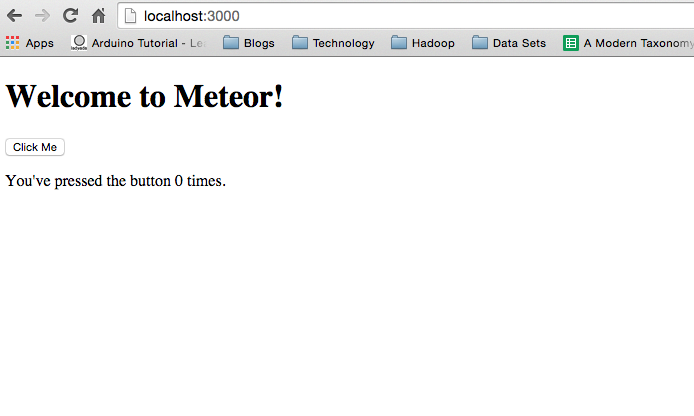
Once I install meteor.js, setup the app, and start up meteor, I realize that it is running on port 3000 by default. Since I’m running this on a virtual machine, I can’t just go directly to port 3000 from my web browser. I can fix this by updating the driver for vagrant to have a section on network to forward the local port on my system to the port on the virtual machine.
1 2 3 4 | |
With this configuration, I can now browse to localhost:3000.
Now I have a working environment that allows me to edit my local cookbook, converge my node, and see the output of my changes from my browser without breaking anything on my base system. I can keep iterating and changing as needed. As long as my cookbook reflects the changes that I need to replicate my environment, I can quickly get back to a working state as needed.